New Report and Upload
Start a job and attach the assembly you will inspect.
Before you start
Sign in so you are in the workspace. Every report is tied to one assembly. If a quota modal appears when you create a report or upload, you have hit a plan limit—see Account, plans, and sharing.
How to get there
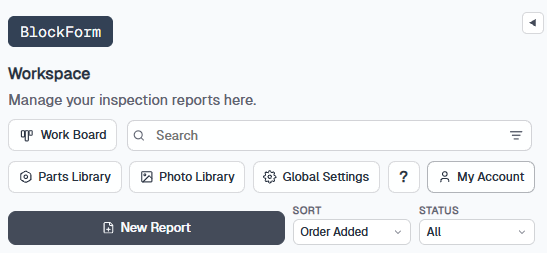
In the workspace, click New report. A new inspection card opens in edit mode. Give it a title and fill out the inspector details. Use the radio buttons to add more header fields. To add an assembly, start from CAD, Schematic, or BOM, or click Use existing if it is already in the Parts Library.
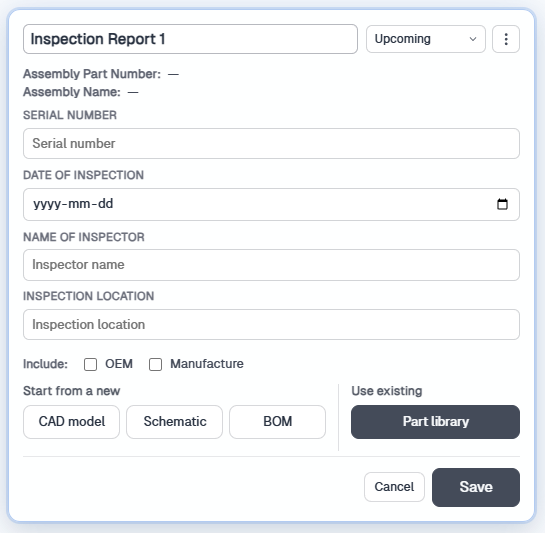
Which upload should I pick?
- CAD model — you have a 3D STEP file of the equipment.
- Schematic — you have a PDF or image drawing with callouts, not a 3D model.
- BOM — you have a spreadsheet parts list.
- Use existing — this assembly is already in the Parts Library.
Add an assembly
Every inspection report is anchored to one assembly. From the card you can either start fresh by uploading a CAD model, schematic, or BOM, or pull in an assembly you (or your team) saved earlier from the Parts Library.
CAD model
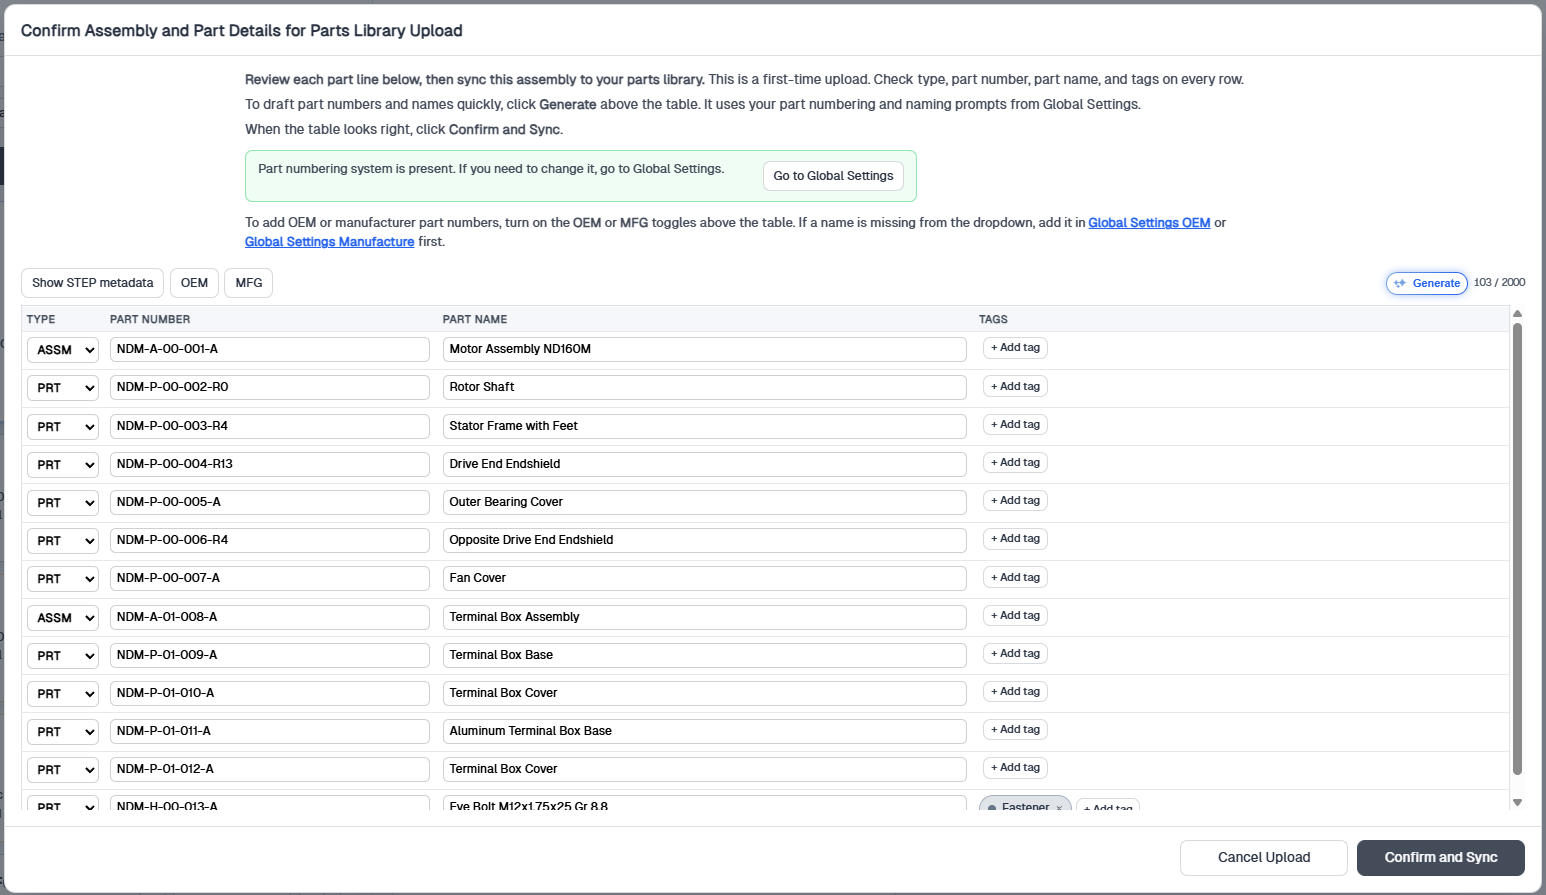
Click CAD model under Start from a new and choose a STEP file (.step, .stp, or .stpz). BlockForm converts the file in the background, builds the BOM tree from the assembly hierarchy, and shows the model in the viewer once conversion finishes. STEP preserves the assembly tree, part names, and units that the report relies on.
Schematic
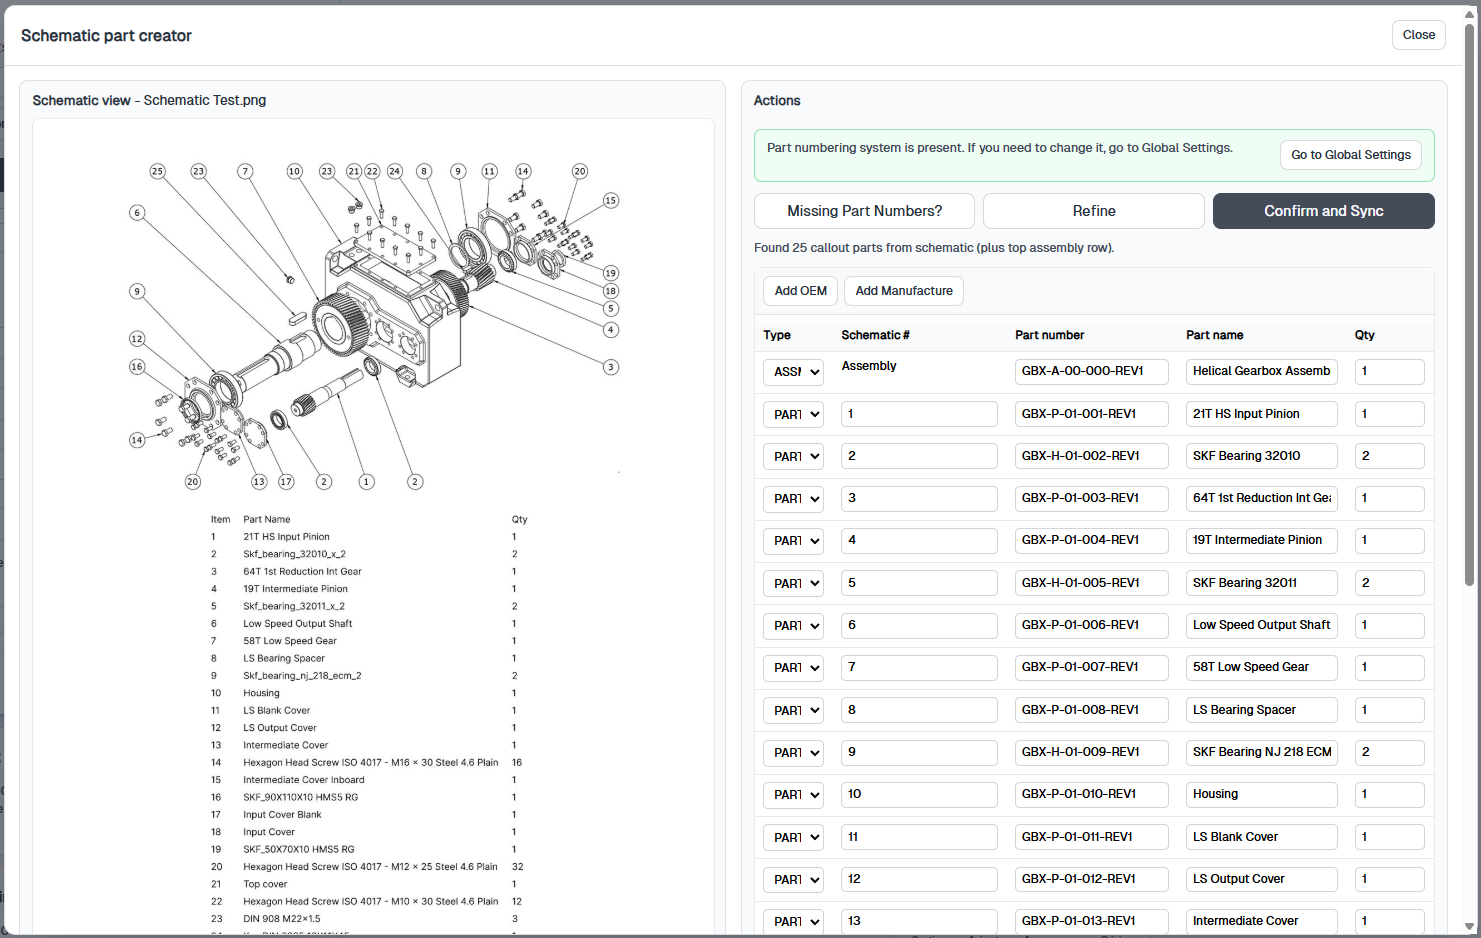
Click Schematic to upload a PDF or image of a schematic (.pdf, .png, .jpg, .jpeg, .webp, .gif, .bmp, or .svg). The schematic loads into a pan-and-zoom viewer, and the part creator walks you through turning callouts into a BOM with part numbers, names, and quantities. Use this when you have a drawing or schematic (PDF or image) rather than a 3D model or parts spreadsheet, and still want a structured part list to inspect against.
BOM
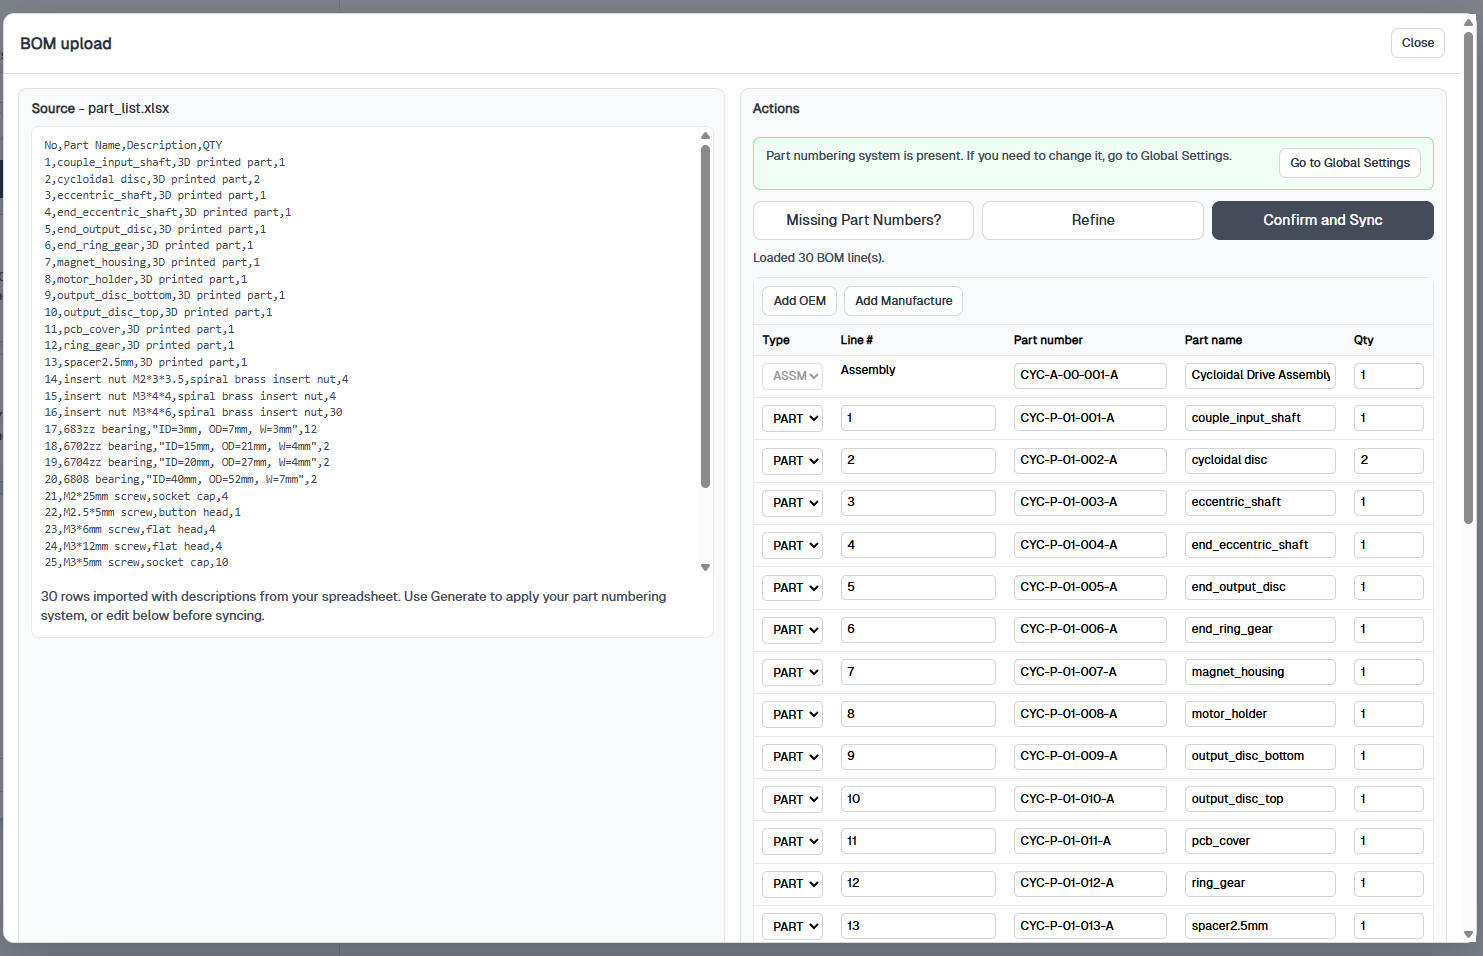
Click BOM under Start from a new and upload a spreadsheet (.csv, .tsv, .txt, .xlsx, or .xls). BlockForm reads part numbers, names, and quantities into the part creator so you can review rows before syncing.
If imported values need your organization's part-numbering rules applied, or OEM part numbers need internal part numbers assigned, use Generate before syncing. You can also save the assembly to the Parts Library and reuse it across reports.
Typical workflow
- Upload your spreadsheet via BOM
- Review imported rows. If BlockForm asks you to map columns, match your spreadsheet headers to part number, part name, and quantity. Extra columns can stay unmapped.
- Optionally click Generate, then Confirm and Sync
Use existing (Parts Library)
Click Parts Library under Use existing to pick an assembly that's already been uploaded to your team or personal library. This skips the conversion step and carries over the saved part numbers, OEM and manufacturer cross-references, and any tags attached to those parts.
OEM and manufacturer details
Tick OEM or Manufacture next to Include to expose extra fields on the card for OEM name, OEM part number, manufacturer name, and manufacturer part number. OEM is the equipment being inspected. Manufacture (the product label, not a typo for Manufacturer) is the supplier of a specific part. These flow through to the report cover page and the Parts Library so future uploads of the same assembly can autofill the details for you.
After the upload
- Hit Save on the card to commit the title, inspector details, and assembly link. The card closes back into the report list.
- Click the card to open the assembly in the Model Viewer, set part status, take photos, and write the report.
- Use the overflow menu on the card to re-open edit mode, change the title, or delete the report.
After you save: Parts Library
Once the assembly is linked to your report, you can add reusable metadata later in the Parts Library guide—customer and vendor numbers, extra Manufacture cross-references, and Configure Inspection Report for kit blocks and default lists. You do not need to do that before you inspect.
Tips
Trim oversized assemblies in your CAD tool before exporting—suppress fasteners or sub-assemblies you don't need to inspect. Smaller STEP files convert faster and keep the BOM tree easier to navigate.
Confirm units match your metadata (mm vs. in) before locking parts for the report so dimensions and tolerances read correctly.
Name parts in your CAD source with the canonical part number where you can—BlockForm uses the part name as the primary key for status, photos, and library linking.
If you get stuck
- Conversion takes a long time — large assemblies, deep trees, and dense geometry take longer to tessellate (turn STEP into a viewer-ready 3D model). Trim fasteners you do not inspect. Assemblies already in the Parts Library skip conversion.
- Conversion fails — export STEP from your CAD tool and try again. Native SolidWorks or other CAD files are not accepted.
- Quota or storage full — see Account, plans, and sharing.
- Wrong units — confirm mm vs in in the part details before Confirm and Sync.
- Confirm and Sync stays unavailable — finish required part number and name fields, and complete column mapping on a BOM upload.