Photo Collage Editor
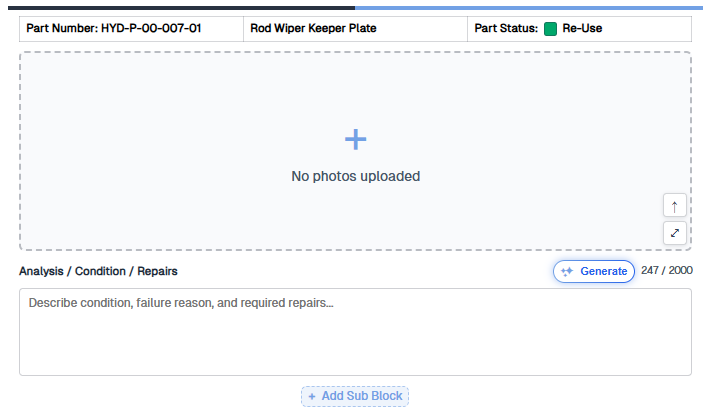
A collage is the evidence layout inside a Part Block Photos block or a Photo Block sub-block in the Report Editor. What you see on the canvas is what exports to the PDF — crop, rotate, and arrange photos so the finding reads clearly before you share the report.
How to get there
Open a Part Block Photos block or a Photo Block sub-block in the Report Editor. Anyone can collage on the block. Choosing photos from the Photo Library album is Pro; use Use photos not in the library… to upload from the computer on any plan.
Add photos
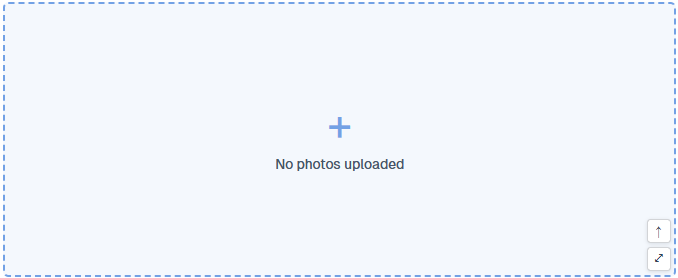
Click the empty dashed area (the + / No photos uploaded prompt) or the ↑ upload control on a filled collage. That opens Choose photos for this report's Photo Library album. Filter to this part, add tag chips, and sort by date added, date taken, display order, workflow status, or part number. Select thumbnails, then add them to the collage. Use photos not in the library… uploads from the computer instead. Add a Photo Block from Add Sub Block when one part needs a second collage.
You need an inspection report selected before photos can be added. Create or open a report first if the editor warns that none is selected.
Arrange
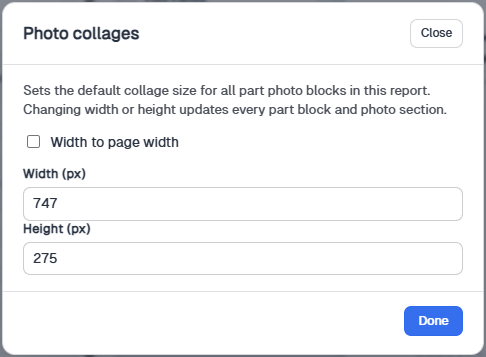
After the photo count changes, the collage rebuilds a smart mosaic so cells fill the frame. Width and height on the block (W × H, or Set width to page width) size that collage. Format Report → Photo collages sets the default width, height, and width-to-page for all part photo blocks and photo sections on that report. Global Settings → Report Format → Photo collages sets the default for new reports only.
Crop
Click Adjust crop on a photo, or double-click the cell. Drag the frame handles to resize, pan the image inside the frame, then Done to keep the crop or Cancel (or Escape) to leave it. Prefer a tight frame around the finding so the PDF does not waste space on background.
Rotate
Each cell has a rotate control on the photo. Click it to turn that cell 90°. Use it when a shot was taken sideways or upside down so orientation stays consistent across the mosaic.
Link to parts
Photos stay associated with the part on that block. That keeps Photo Library albums, part status, and the collage aligned — the same evidence does not drift to a different part when you filter or export.
Report defaults
In the Report Editor sidebar, Format Report → Photo collages opens a modal: width to page width, width in pixels, and height in pixels. Changing those values updates every part photo block and photo section on the current report.
Tips for clear collages
Prefer a few strong photos over a crowded layout. Crop tightly around the finding, keep orientation consistent across cells, and use the same lighting context when comparing before / after or reuse / replace evidence. The collage in the editor is what exports into the PDF, so review the block before you share or download the report.
If you get stuck
- The editor warns that no report is selected — open or create an inspection report first.
- A second photo does not appear — try uploading again from the dashed area or ↑ control. Crop and rotate after both cells are filled.
- The collage is larger than the page — use Format Report → Photo collages and Set width to page width, or reduce W × H on the block.